top of page

Pre Production Sizzle Reel

PRE PRODUCTION
PROCESS (1 of 3)
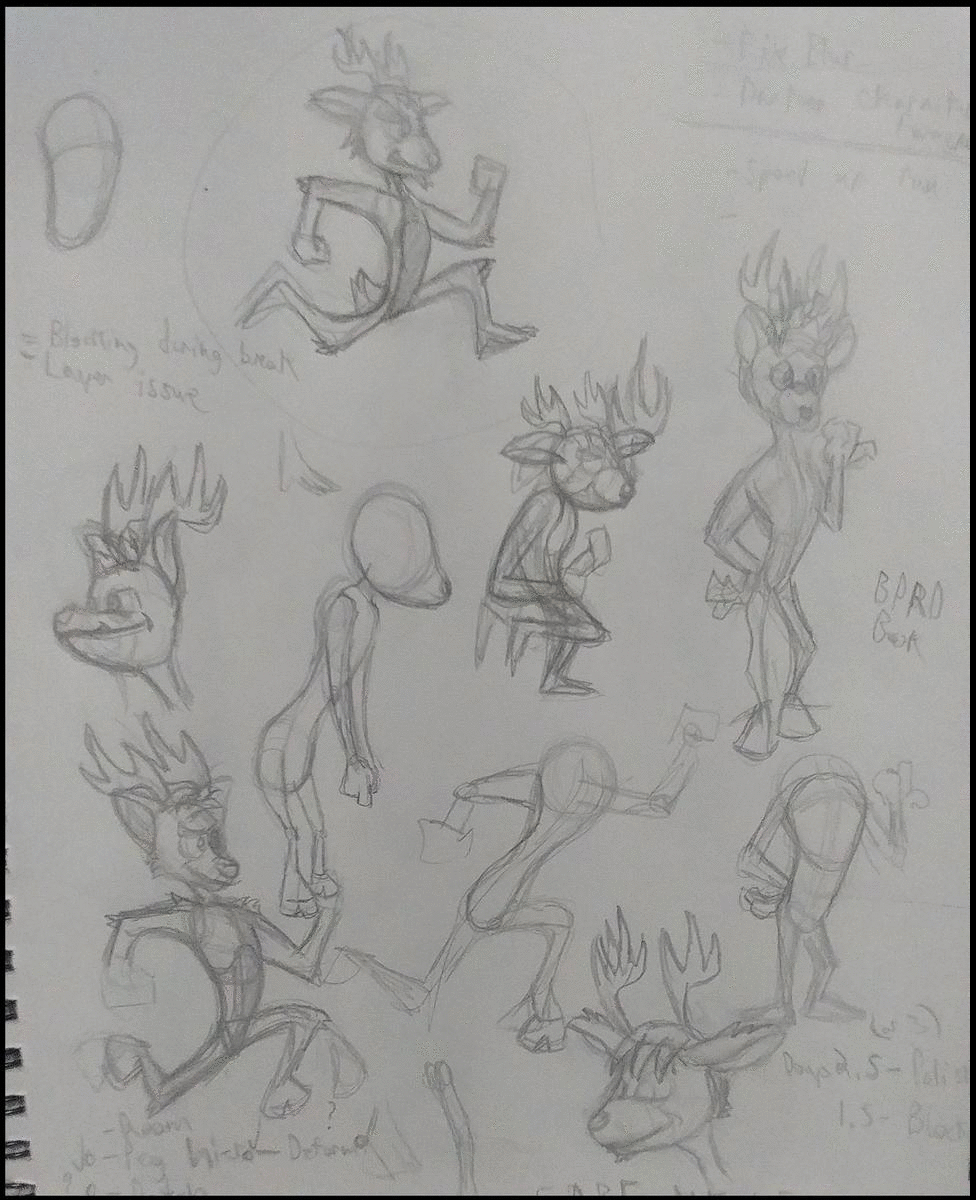
I always begin by drawing thumbnails of the character I'm going to be animating with. I draw them in poses that show the various emotional states and reactions throughout the different parts in the story they are involved in.
I either get these poses in a provided animatic, leica reel or storyboard, or I conceptualize them myself before I make my own versions. This helps me to get a feel of the character's personality and anatomy. It's also great for narrowing in on how I wish to tell the story.
If I'm creating my own animatic, I make a list of sounds and the type of music I plan to use.
I tend to search for images online for inspiration when I'm creating my own characters, outfits, props, environments, etc.
PRODUCTION PROCESS (1 of 6)
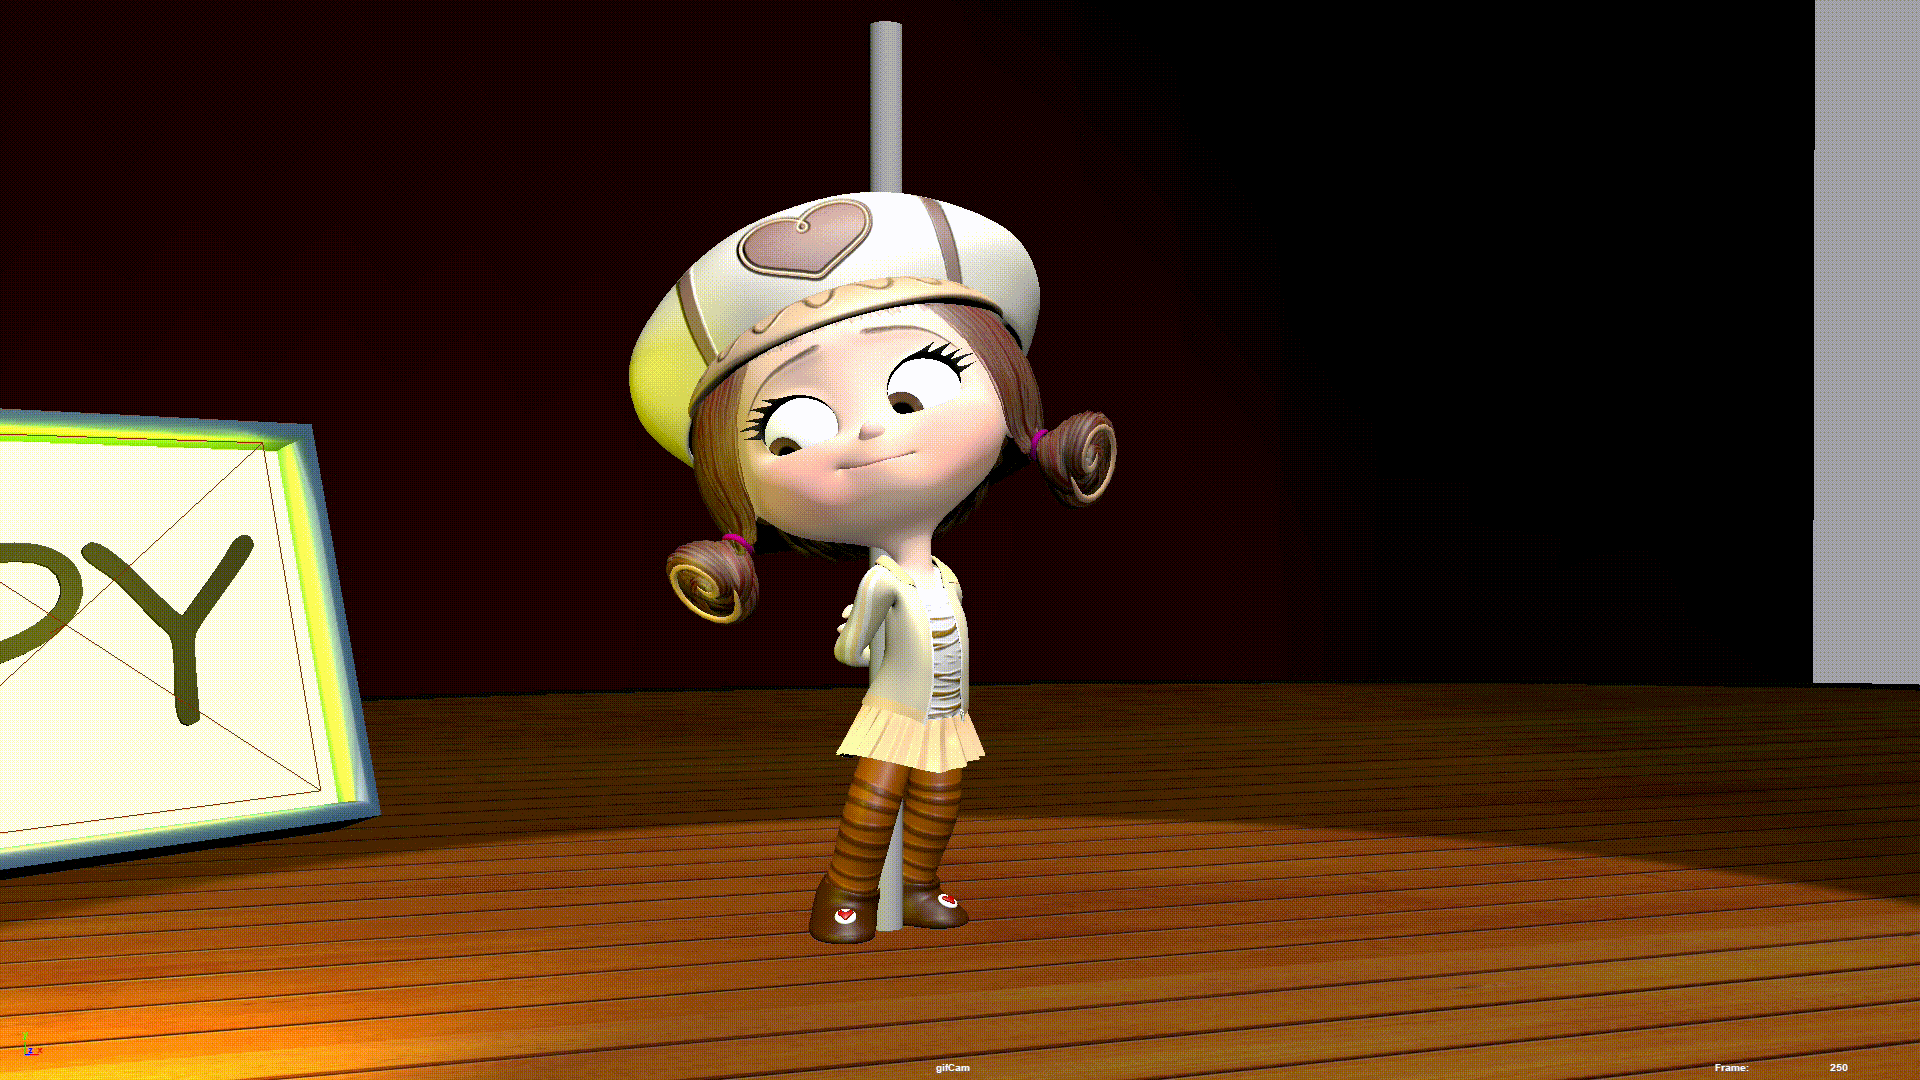
When I begin working on the animation, I start by blocking out all the poses directly from the animatic in time (which also has the sound included). Meaning, I set up all the poses that are key to telling the audience what the character is doing. This is done before I concern myself with how the character is actually moving from 1 pose to the other.
Sometimes I also add a vertical shape in between the legs to help me keep the character balanced on 2 ( or 4) legs while I make the poses.
2D PROCESS WORK

I use the same process when I work in 2D animation. First thumbnails, then animatic, blocked animation, arcs, anticipation and overshoot, eases, then moving holds and polish.
Above you can see the translation between the thumbnail work (left) and the animated work (right).
bottom of page